Content Menu
● Understanding the Basics
● Tools You Will Need
● Step-by-Step Testing Process
>> Check Battery Voltage
>> Inspect Wiring Connections
>> Test Motor Resistance
>> Perform a Load Test
>> Check for Shorts
>> Direct Power Test
● Common Issues and Troubleshooting Tips
● Maintenance Tips for Longevity
>> Battery Care
>> Motor Cleaning
>> Lubrication
>> Tire Pressure
● Conclusion
● FAQ
>> 1. How often should I test my golf cart motor?
>> 2. What tools do I need for testing?
>> 3. What should I do if my battery voltage is low?
>> 4. Can I test my golf cart motor without removing it?
>> 5. What is a load test?
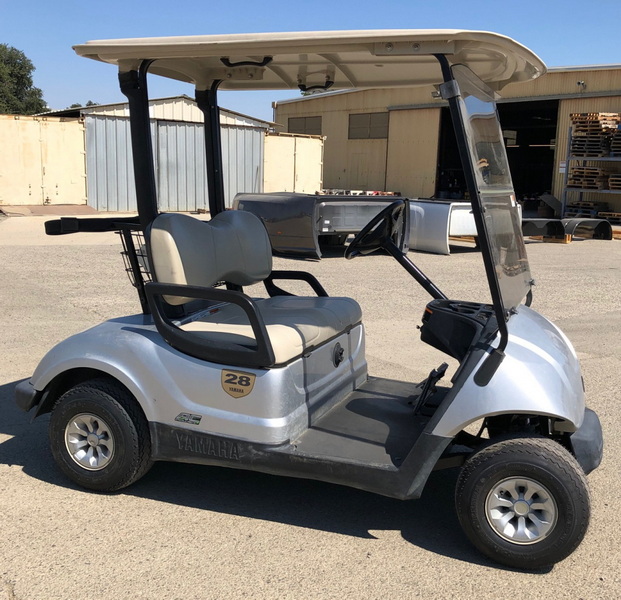
Testing a 36-volt electric golf cart motor is an essential task for ensuring its optimal performance and longevity. Whether you are troubleshooting issues or performing routine maintenance, knowing how to effectively test your motor can save you time and money. This guide will walk you through the necessary steps, tools, and techniques to test your 36v electric golf cart motor.

Understanding the Basics
Before diving into the testing process, it's important to understand the components involved in a 36-volt electric golf cart motor system. The key components include:
- Motor: The heart of the golf cart that converts electrical energy into mechanical energy.
- Battery Pack: Supplies the necessary voltage to the motor.
- Controller: Regulates the power from the battery to the motor.
- Wiring: Connects all components and allows for the flow of electricity.
Tools You Will Need
To successfully test your 36v electric golf cart motor, gather the following tools:
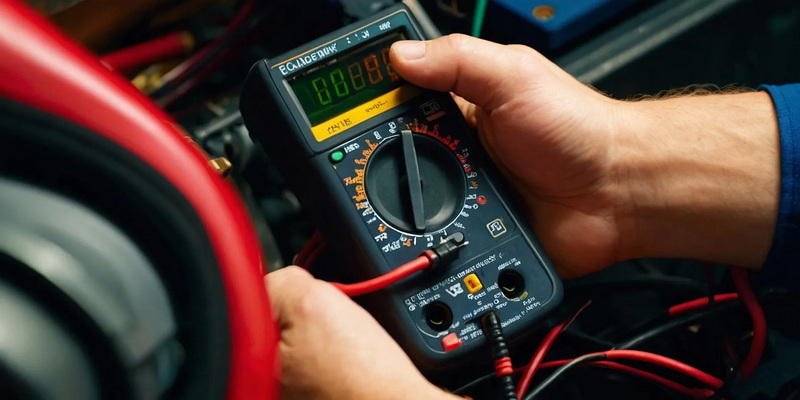
- Multimeter: For measuring voltage, current, and resistance.
- Wrench Set: To disconnect and connect battery terminals and wiring.
- Screwdrivers: For accessing various components.
- Load Tester: To check the performance under load conditions.
- Jump Leads: For connecting directly to the motor for testing.
Step-by-Step Testing Process
Check Battery Voltage
Start by ensuring that your battery pack is fully charged and functioning properly.
- Turn off the golf cart and disconnect it from any power source.
- Set your multimeter to measure DC voltage. Connect the red probe to the positive terminal and the black probe to the negative terminal of the battery pack.
- A fully charged 36v battery should read between 36 and 42 volts. If it reads below this range, recharge or replace the batteries.
Inspect Wiring Connections
Loose or damaged wiring can lead to performance issues.
- Visually inspect all wiring connections for signs of wear or damage.
- Use a multimeter to check for continuity in wires and connections. If any wires are faulty, replace them immediately.

Test Motor Resistance
Testing resistance helps identify internal issues within the motor.
- Disconnect all wiring from the motor terminals.
- Set your multimeter to measure resistance (ohms). Connect one probe to each terminal of the motor.
- A good motor should show a low resistance reading (typically less than 1 ohm). If you see infinite resistance, it indicates an open circuit inside the motor, suggesting it may be damaged.
Perform a Load Test
To ensure that your motor operates correctly under load, perform a load test.
- Reconnect your wiring as per manufacturer specifications.
- Use a load tester or connect your golf cart back together and drive it while monitoring performance.
- Pay attention to any unusual noises or vibrations that may indicate problems with the motor or drivetrain.
Check for Shorts
Ensure there are no internal shorts in the motor that could cause failure.
- Set your multimeter to continuity mode. Check between each terminal and ground; there should be no continuity (beeping sound) if everything is functioning correctly.
Direct Power Test
If previous tests do not yield conclusive results, consider applying direct power to test functionality.
- Disconnect all wiring from the motor.
- Use jump leads to connect a known good 36v power source directly to the motor terminals (positive to S2 and negative to A1).
- If the motor runs smoothly when powered directly, it indicates that other components (like controller or wiring) may be causing issues rather than the motor itself.

Common Issues and Troubleshooting Tips
If your tests reveal problems with your golf cart motor, here are some common issues and their solutions:
- Motor Not Running: Check battery voltage, connections, and ensure that there are no blown fuses in the system.
- Weak Performance: This could indicate worn brushes or internal damage within the motor. Inspect brushes for wear and replace if necessary.
- Unusual Noises: Grinding or whining sounds might suggest bearing issues or debris inside the motor casing. Inspect for foreign objects or wear on bearings.
Maintenance Tips for Longevity
Regular maintenance is crucial for ensuring that your electric golf cart operates efficiently over time. Here are some key maintenance tips:
Battery Care
Ensure that you regularly check battery water levels if you are using lead-acid batteries. The water levels should cover the lead plates without overflowing. Additionally, clean any corrosion from terminals using a mixture of baking soda and water.
Motor Cleaning
While electric motors do not require frequent cleaning, periodic checks can help maintain performance. Use isopropyl alcohol in a spray bottle to clean dust from around brushes and commutators without damaging sensitive parts[6].
Lubrication
Regularly lubricate moving parts within your golf cart's drivetrain system to prevent wear and tear. Check bearings for smooth operation; any stiffness could indicate a need for lubrication or replacement[9].
Tire Pressure
Maintaining proper tire pressure is essential for optimal performance. Under-inflated tires can lead to increased drag on the motor, reducing efficiency[10].
Conclusion
Testing a 36v electric golf cart motor involves several steps, including checking battery voltage, inspecting wiring connections, testing resistance, performing load tests, checking for shorts, and conducting direct power tests if necessary. By following these steps systematically, you can diagnose issues effectively and maintain optimal performance of your golf cart.
Regular maintenance practices will further extend the life of your electric golf cart's components while ensuring safe operation on courses or other terrains. By being proactive with testing and maintenance, you can avoid costly repairs down the line and enjoy smooth rides throughout each season.

FAQ
1. How often should I test my golf cart motor?
Regular testing is recommended at least once a season or whenever you notice performance issues.
2. What tools do I need for testing?
You will need a multimeter, wrench set, screwdrivers, load tester, and jump leads for testing your golf cart motor effectively.
3. What should I do if my battery voltage is low?
If your battery voltage is low, recharge it fully before testing again. If it remains low after charging, consider replacing it.
4. Can I test my golf cart motor without removing it?
Yes, you can perform several tests without removing the motor by using appropriate tools and following safety precautions.
5. What is a load test?
A load test measures how well your golf cart motor performs under actual driving conditions by applying a known load while monitoring its output performance.


