Content Menu
● Understanding Electric Golf Cart Motors
● Components of an Electric Golf Cart Motor
● Signs of a Faulty Electric Golf Cart Motor
● How to Check an Electric Golf Cart Motor
>> Step 1: Safety First
>> Step 2: Visual Inspection
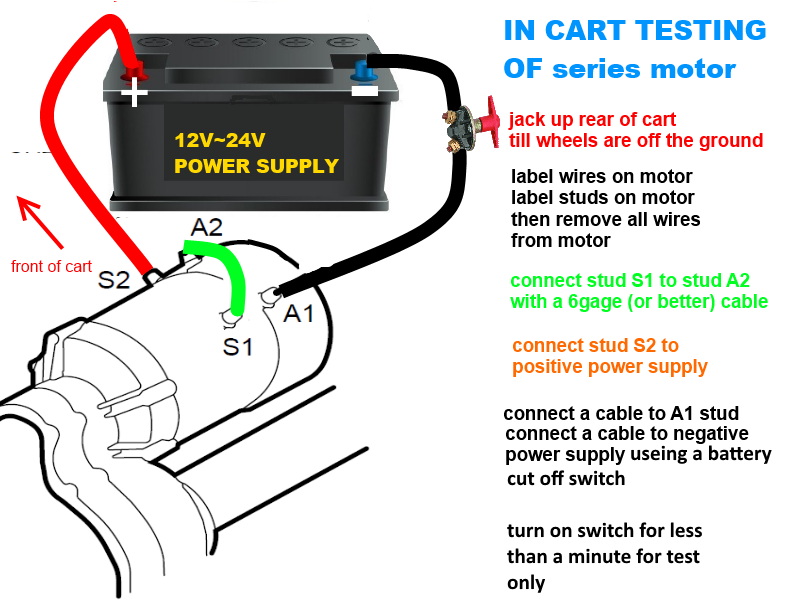
>> Step 3: Testing the Motor
>>> Using a Multimeter
>>> Load Testing
● Common Issues and Solutions
>> Overheating
>> Reduced Speed
>> Unusual Noises
● Preventative Maintenance Tips
● Conclusion
● Related Questions
>> 1. What are the common causes of electric golf cart motor failure?
>> 2. How do I identify a faulty electric golf cart motor controller?
>> 3. What preventative maintenance steps can extend a golf cart motor's lifespan?
>> 4. How often should I check my golf cart motor?
>> 5. Can I repair my electric golf cart motor myself?
Electric golf carts are a popular choice for many golfers and recreational users due to their convenience and eco-friendliness. However, like any vehicle, they can experience issues, particularly with their motors. Understanding how to check an electric golf cart motor is essential for maintenance and troubleshooting. This guide will walk you through the steps to diagnose motor problems, common issues, and preventative measures to keep your golf cart running smoothly.

Understanding Electric Golf Cart Motors
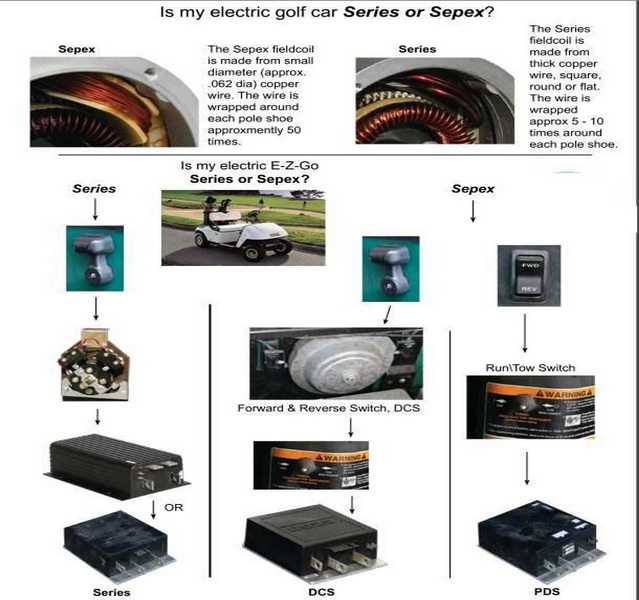
Electric golf carts typically use either series or shunt wound motors. Series motors are more common in older models, while shunt wound motors are found in newer carts. Each type has its own characteristics and methods for testing. Knowing which type you have is crucial for effective troubleshooting.
Components of an Electric Golf Cart Motor
Before diving into the testing process, it's important to understand the key components of an electric golf cart motor:
- Armature: The rotating part of the motor that generates torque.
- Field Windings: Coils of wire that create a magnetic field when electricity flows through them.
- Commutator: A switch that reverses the current direction in the armature, allowing for continuous rotation.
- Brushes: Conductive materials that transfer electricity to the armature.
Signs of a Faulty Electric Golf Cart Motor
Identifying the symptoms of a failing motor can save you time and money. Here are some common signs:
- Reduced Speed: If your golf cart is slower than usual, it may indicate motor issues.
- Unusual Noises: Grinding or whining sounds can signal mechanical problems.
- Overheating: A motor that gets excessively hot may be working harder than it should.
- Inconsistent Power: If the cart hesitates or loses power intermittently, the motor may be failing.
How to Check an Electric Golf Cart Motor
Step 1: Safety First
Before you begin any testing, ensure your safety. Disconnect the battery to prevent any electrical shocks. Wear safety goggles and gloves to protect yourself from any debris or electrical components.
Step 2: Visual Inspection
Start with a thorough visual inspection of the motor and its components. Look for:
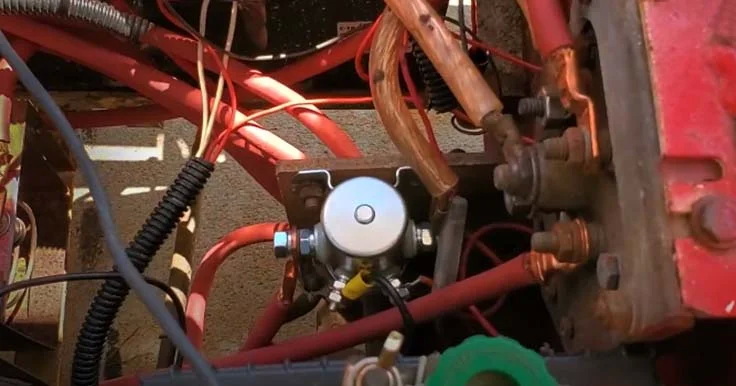
- Loose or Corroded Connections: Check all wiring and connections for signs of wear or corrosion.
- Physical Damage: Inspect the motor housing for cracks or signs of overheating.
- Brush Wear: Examine the brushes for wear. If they are worn down, they may need replacement.

Step 3: Testing the Motor
Using a Multimeter
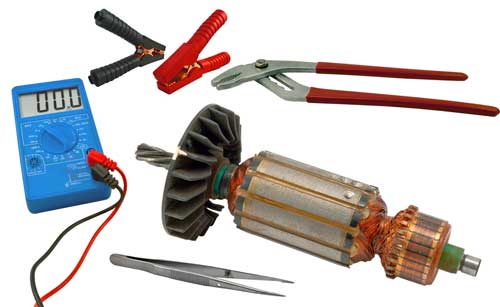
A multimeter is an essential tool for testing your electric golf cart motor. Here's how to use it:
1. Set the Multimeter: Set your multimeter to the resistance (ohms) setting.
2. Test the Armature: Disconnect the motor from the cart. Place one probe on the armature terminal and the other on the motor casing. A reading of infinite resistance indicates a good armature.
3. Check the Field Windings: Place the probes on the field winding terminals. A reading of low resistance (typically between 1-10 ohms) indicates a healthy winding.
4. Test for Shorts: Check for shorts by placing one probe on the armature terminal and the other on the motor casing. A reading of zero indicates a short circuit.
Load Testing
Load testing can help determine if the motor can handle its intended load. Here's how to perform a load test:
1. Reconnect the Motor: Reconnect the motor to the golf cart.
2. Use a Load Tester: Connect a load tester to the battery and motor.
3. Observe Performance: Monitor the motor's performance under load. If it struggles or overheats, it may need repair or replacement.
Common Issues and Solutions
Overheating
If your motor is overheating, it could be due to:
- Poor Ventilation: Ensure the motor has adequate airflow.
- Overloading: Avoid exceeding the weight limit of the cart.
- Worn Brushes: Replace worn brushes to improve efficiency.
Reduced Speed
If your golf cart is not reaching its normal speed, consider:
- Battery Issues: Check the battery voltage and connections.
- Controller Problems: Inspect the speed controller for faults.
- Motor Wear: If the motor is old, it may need replacement.
Unusual Noises
Grinding or whining noises can indicate:
- Bearing Failure: Inspect and replace bearings if necessary.
- Loose Components: Tighten any loose screws or bolts.

Preventative Maintenance Tips
To extend the life of your electric golf cart motor, consider these preventative maintenance tips:
- Regular Inspections: Conduct visual inspections regularly to catch issues early.
- Clean Connections: Keep all electrical connections clean and free of corrosion.
- Battery Maintenance: Ensure your batteries are charged and maintained properly.
- Lubrication: Lubricate moving parts as recommended by the manufacturer.
Conclusion
Checking an electric golf cart motor involves a combination of visual inspections, electrical testing, and understanding common issues. By following the steps outlined in this guide, you can diagnose problems effectively and maintain your golf cart for optimal performance. Regular maintenance and awareness of potential issues will help ensure your electric golf cart remains a reliable mode of transportation on the course.

Related Questions
1. What are the common causes of electric golf cart motor failure?
- Common causes include overheating, electrical shorts, and mechanical wear.
2. How do I identify a faulty electric golf cart motor controller?
- Look for symptoms like erratic speed control, overheating, or failure to start.
3. What preventative maintenance steps can extend a golf cart motor's lifespan?
- Regular inspections, cleaning connections, and proper battery maintenance can help.
4. How often should I check my golf cart motor?
- It's advisable to check the motor at least once a season or before heavy use.
5. Can I repair my electric golf cart motor myself?
- Many minor repairs can be done at home, but complex issues may require professional assistance.


