Content Menu
● Understanding Electric Motor Brushes
● Tools and Materials Needed
● Step-by-Step Guide to Replacing Brushes
>> Step 1: Disconnect Power
>> Step 2: Access the Motor
>> Step 3: Remove Brush Holder
>> Step 4: Inspect Brushes
>> Step 5: Replace Brushes
>> Step 6: Clean Motor Components
>> Step 7: Reassemble Motor
>> Step 8: Reconnect Power
>> Step 9: Test Run
● Tips for Successful Brush Replacement
● Conclusion
● FAQ
>> 1. How often should I replace my golf cart motor brushes?
>> 2. What are signs that my golf cart needs new motor brushes?
>> 3. Can I replace motor brushes myself?
>> 4. What if my commutator is damaged?
>> 5. Are there different types of brushes for different models?
Electric golf carts, particularly those manufactured by Yamaha, are popular for their efficiency and low maintenance needs. However, like any mechanical device, they can experience wear and tear over time. One common issue that arises is the need to replace the brushes in the electric motor. This article will explore the process of replacing brushes on a Yamaha golf cart electric motor, providing detailed instructions, tips, and insights to help you through the task.

Understanding Electric Motor Brushes
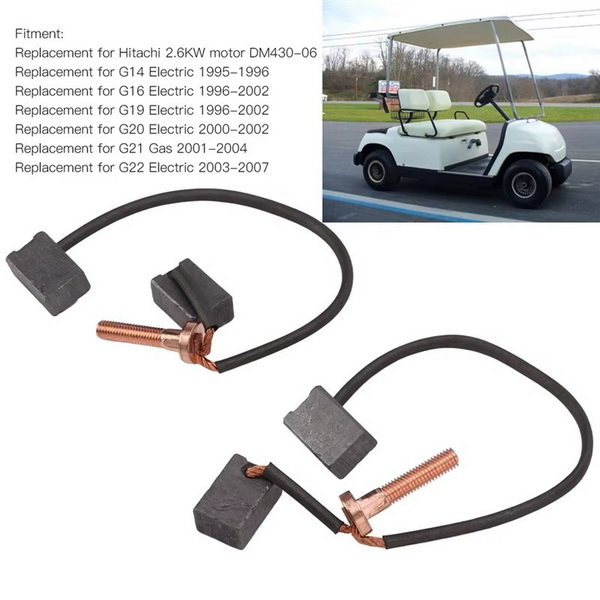
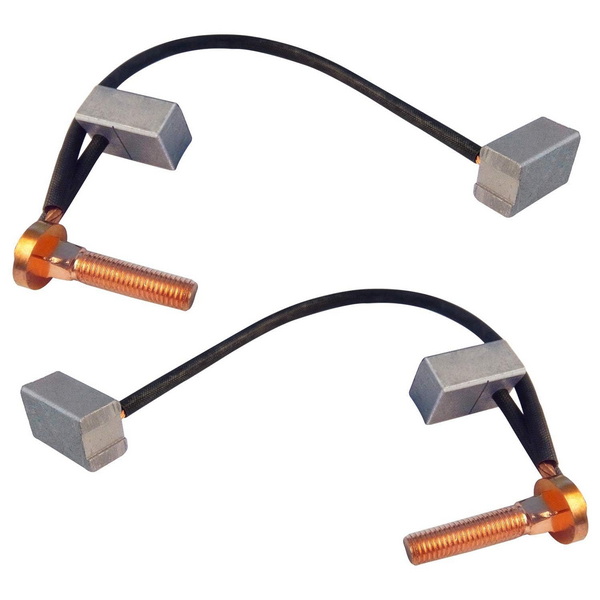
Electric motors use brushes to conduct electricity between stationary wires and moving parts. In a golf cart motor, these brushes are crucial for the motor's performance. Over time, brushes can wear down due to friction, resulting in reduced performance or complete failure of the motor. Symptoms of worn brushes may include:
- Jerky movements while driving
- Intermittent operation
- Complete failure to run
Recognizing these symptoms early can save you from more extensive repairs later.
Tools and Materials Needed
Before starting the replacement process, ensure you have the following tools and materials:
- Screwdrivers (Phillips and flathead)
- Wrench set
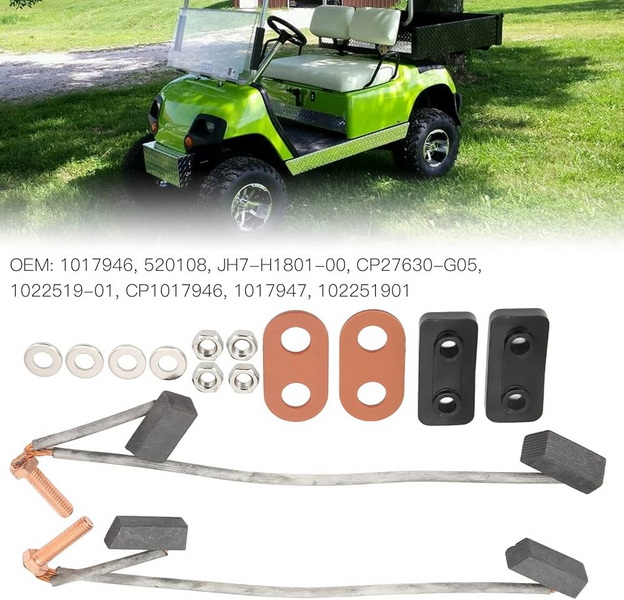
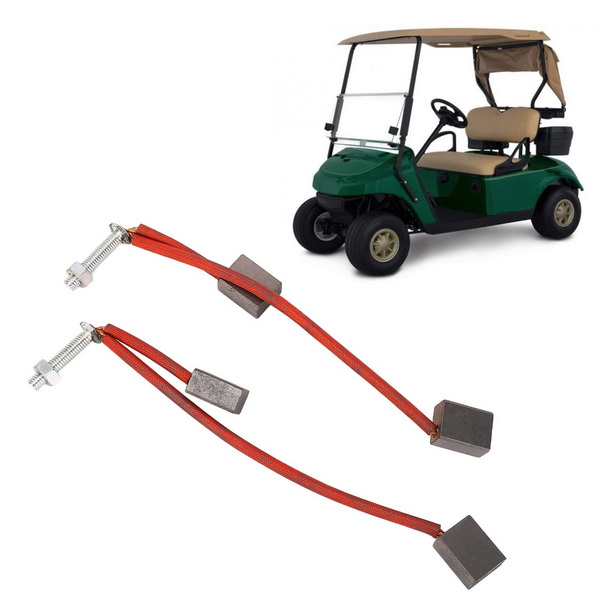
- Replacement brushes (specific to your Yamaha model)
- Contact cleaner
- Compressed air
- Safety goggles and gloves

Step-by-Step Guide to Replacing Brushes
Step 1: Disconnect Power
Safety should always be your first priority. Begin by disconnecting the battery to prevent any electrical shocks or short circuits. Remove the negative terminal first, followed by the positive terminal.
Step 2: Access the Motor
Locate the electric motor on your Yamaha golf cart. Depending on the model (such as G29 or Drive), you may need to remove a cover or panel to access the motor compartment. This typically involves unscrewing a few screws or clips.
Step 3: Remove Brush Holder
Once you have access to the motor, locate the brush holder. This component houses the brushes and is usually secured with screws. Carefully remove these screws and lift out the brush holder.
Step 4: Inspect Brushes
With the brush holder removed, inspect the brushes for wear. If they are worn down significantly (less than 1/4 inch), it's time for a replacement.
Step 5: Replace Brushes
To replace the brushes:
1. Remove Old Brushes: Use a small screwdriver to release any retaining clips or springs holding the brushes in place.
2. Insert New Brushes: Place new brushes into their respective slots in the brush holder. Ensure they fit snugly and are positioned correctly.
3. Secure Brushes: Reattach any clips or springs that hold the brushes in place.

Step 6: Clean Motor Components
Before reassembling everything, take this opportunity to clean out any carbon dust or debris that has accumulated inside the motor compartment using compressed air and contact cleaner.
Step 7: Reassemble Motor
Carefully reinsert the brush holder back into its original position and secure it with screws. Reattach any covers or panels you removed earlier.
Step 8: Reconnect Power
Reconnect your battery terminals, starting with the positive terminal followed by the negative terminal.
Step 9: Test Run
After everything is reassembled, take your golf cart for a test drive to ensure that it operates smoothly without any issues.
Tips for Successful Brush Replacement
- Always refer to your specific Yamaha model's service manual for detailed instructions.
- If you're unsure about any steps or encounter difficulties, consider watching instructional videos online for visual guidance.
- Regular maintenance can prolong the life of your electric motor; consider checking brush wear every few months.
Conclusion
Replacing brushes on a Yamaha golf cart electric motor is a manageable task that can significantly improve performance if done correctly. By following these steps and taking necessary precautions, you can ensure that your golf cart runs smoothly for many rounds ahead. Regular maintenance checks will help catch issues early and extend your cart's lifespan.

FAQ
1. How often should I replace my golf cart motor brushes?
It depends on usage; however, inspecting them every six months is recommended.
2. What are signs that my golf cart needs new motor brushes?
Common signs include jerky movements, intermittent operation, or failure to start.
3. Can I replace motor brushes myself?
Yes, with basic tools and following instructions carefully, most owners can replace them independently.
4. What if my commutator is damaged?
If damaged, you may need professional repair or replacement of the entire motor depending on severity.
5. Are there different types of brushes for different models?
Yes, always ensure you purchase brushes specific to your Yamaha model for proper fit and function.


