Content Menu
● Understanding the Solenoid
>> What is a Solenoid?
>> Signs of a Faulty Solenoid
● Tools and Materials Needed
● Step-by-Step Replacement Guide
>> Step 1: Ensure Safety
>> Step 2: Locate the Solenoid
>> Step 3: Disconnect the Battery
>> Step 4: Remove the Old Solenoid
>> Step 5: Install the New Solenoid
>> Step 6: Reconnect the Battery
>> Step 7: Test the New Solenoid
● Tips for a Successful Replacement
● Troubleshooting Common Issues
● Maintenance Tips to Prolong Solenoid Life
● When to Seek Professional Help
● Conclusion
● Frequently Asked Questions
>> 1. How often should I replace the solenoid in my electric golf cart?
>> 2. Can I use any solenoid for my golf cart, or does it need to be a specific type?
>> 3. Is it normal to hear a clicking sound when I turn on my golf cart?
>> 4. How can I test if my solenoid is working correctly?
>> 5. What causes a solenoid to fail prematurely?
Electric golf carts are a popular mode of transportation on golf courses and in many residential communities. These vehicles rely on various components to function properly, with the solenoid being a crucial part of the electrical system. If you're experiencing issues with your golf cart, such as difficulty starting or intermittent operation, the solenoid might be the culprit. In this comprehensive guide, we'll walk you through the process of replacing a solenoid on an electric golf cart, providing step-by-step instructions, helpful tips, and important safety considerations.

Understanding the Solenoid
Before diving into the replacement process, it's essential to understand what a solenoid is and its role in your electric golf cart.
What is a Solenoid?
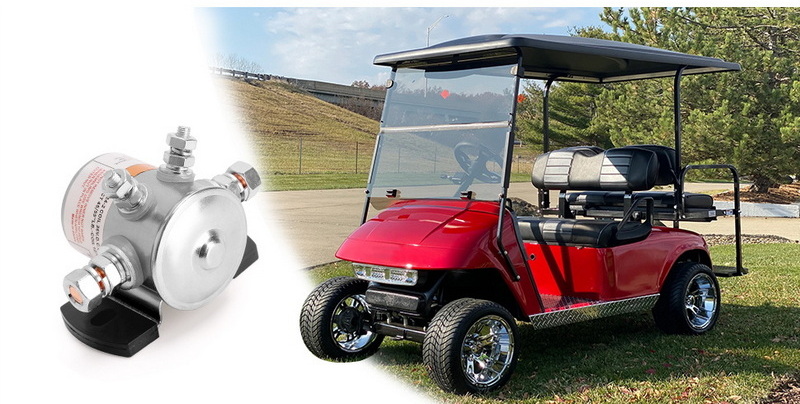
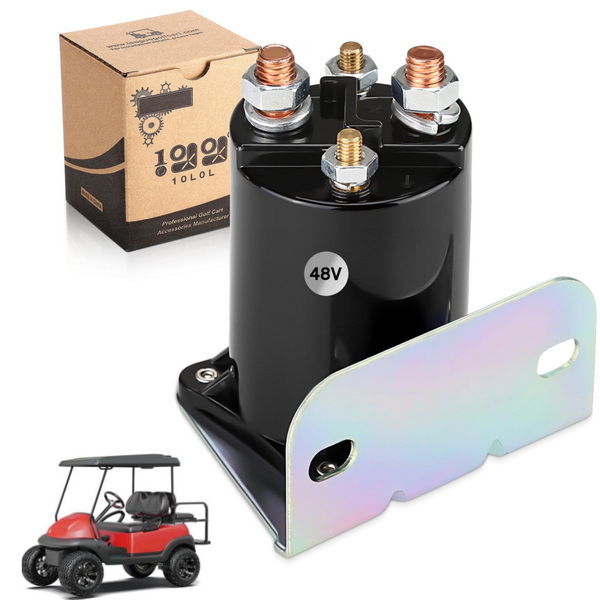
A solenoid in an electric golf cart acts as an electromagnetic switch that controls the flow of electricity from the batteries to the motor[1]. When you press the accelerator pedal, the solenoid receives a signal to close its internal contacts, allowing power to flow and the cart to move. Without a properly functioning solenoid, your golf cart won't operate as intended.
Signs of a Faulty Solenoid
Common indicators of a failing solenoid include:
- The golf cart doesn't move when you press the accelerator
- Intermittent operation (starts and stops unexpectedly)
- Clicking sound when trying to start the cart, but no movement
- Complete failure to start
If you're experiencing any of these symptoms, it's time to consider replacing your golf cart's solenoid.
Tools and Materials Needed
Before beginning the replacement process, gather the following tools and materials:
- New solenoid (ensure it's compatible with your golf cart model)
- Socket wrench set
- Pliers
- Flathead and Phillips screwdrivers
- Wire brush
- Electrical tape
- Safety gloves and goggles
- Multimeter (for testing)
Step-by-Step Replacement Guide
Follow these steps carefully to replace the solenoid on your electric golf cart:
Step 1: Ensure Safety
Before starting any work on your golf cart, prioritize safety:
1. Park the golf cart on a level surface and engage the parking brake.
2. Turn off the ignition and remove the key.
3. Put on your safety gloves and goggles.
Step 2: Locate the Solenoid
The solenoid is typically located near the batteries or under the seat[4]. Consult your golf cart's manual if you have trouble finding it.

Step 3: Disconnect the Battery
To prevent electrical accidents:
1. Identify the main battery pack.
2. Disconnect the negative (-) cable from the battery terminal.
3. Secure the cable away from the terminal to prevent accidental contact.
Step 4: Remove the Old Solenoid
Now that it's safe to work on the electrical system:
1. Take a photo or make a diagram of the wire connections on the old solenoid for reference.
2. Using your socket wrench, remove the mounting bolts that secure the solenoid to the golf cart frame[6].
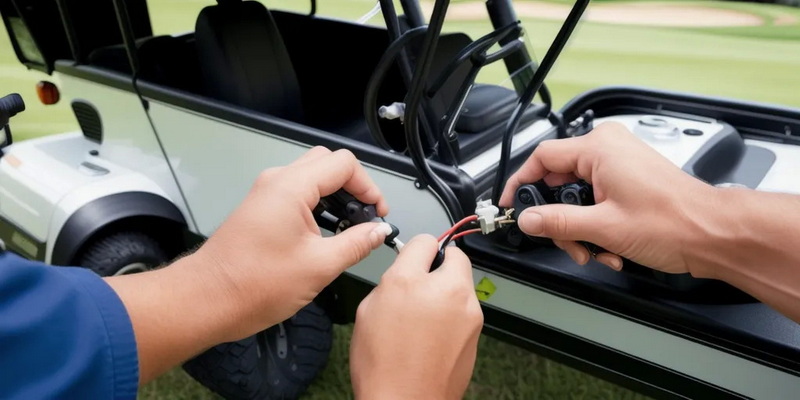
3. Carefully disconnect all wires from the solenoid terminals, noting their positions.
4. Remove the old solenoid from the golf cart.
Step 5: Install the New Solenoid
With the old solenoid removed:
1. Position the new solenoid in the same location as the old one.
2. Secure it to the golf cart frame using the mounting bolts.
3. Reconnect the wires to the appropriate terminals on the new solenoid, following your photo or diagram.
4. Ensure all connections are tight and secure.
Step 6: Reconnect the Battery
Once the new solenoid is installed:
1. Reconnect the negative (-) cable to the battery terminal.
2. Tighten the connection securely.
Step 7: Test the New Solenoid
Before considering the job complete:
1. Turn the ignition key to the "ON" position.
2. Listen for a clicking sound from the new solenoid.
3. Gently press the accelerator pedal to ensure the cart moves forward and reverse.
If everything works correctly, congratulations! You've successfully replaced your golf cart's solenoid.
Tips for a Successful Replacement
To ensure a smooth replacement process:
1. Clean connections: Use a wire brush to clean any corrosion from battery terminals and wire connections before reattaching them.
2. Check for damage: Inspect wires for any signs of wear or damage. Replace any frayed or broken wires.
3. Use dielectric grease: Apply a small amount of dielectric grease to the terminals to prevent future corrosion.
4. Double-check compatibility: Ensure the new solenoid matches the specifications of your golf cart model.
5. Consider upgrading: If you frequently experience solenoid issues, consider upgrading to a higher-quality solenoid for better longevity.
Troubleshooting Common Issues
If you encounter problems after replacing the solenoid:
1. No click sound: Check all wire connections and ensure the battery is fully charged.
2. Cart still doesn't move: Verify that all large cables are securely connected to the solenoid terminals.
3. Intermittent operation: Tighten all connections and check for loose mounting bolts.
4. Burning smell: Immediately disconnect the battery and check for any signs of overheating or melted wires.
Maintenance Tips to Prolong Solenoid Life
To extend the lifespan of your new solenoid:
1. Keep battery terminals clean and free of corrosion.
2. Maintain proper battery fluid levels (for non-sealed batteries).
3. Avoid overloading your golf cart beyond its recommended capacity.
4. Regularly inspect and clean electrical connections.
5. Store your golf cart in a dry, protected area when not in use.
When to Seek Professional Help
While replacing a solenoid is a task many golf cart owners can handle, there are situations where professional assistance is recommended:
- If you're uncomfortable working with electrical systems
- When dealing with high-voltage systems (72V or higher)
- If you encounter unexpected issues during the replacement process
- For regular maintenance and inspections to prevent future problems
Conclusion
Replacing a solenoid on an electric golf cart is a manageable task for many DIY enthusiasts. By following this guide, you can save money on repairs and get your golf cart back in action quickly. Remember to prioritize safety, use the right tools, and take your time to ensure a proper installation. Regular maintenance and prompt attention to issues can help prevent solenoid failures and keep your golf cart running smoothly for years to come.

Frequently Asked Questions
1. How often should I replace the solenoid in my electric golf cart?
Solenoids typically last several years, but their lifespan can vary depending on usage and maintenance. Replace the solenoid when you notice persistent starting issues or intermittent operation. Regular inspections can help identify potential problems before they lead to complete failure.
2. Can I use any solenoid for my golf cart, or does it need to be a specific type?
It's crucial to use a solenoid that's compatible with your specific golf cart model[6]. Using an incompatible solenoid can lead to poor performance or even damage to your cart's electrical system. Always consult your golf cart's manual or a professional to ensure you're using the correct replacement part.
3. Is it normal to hear a clicking sound when I turn on my golf cart?
Yes, a single click when you turn the key or press the accelerator is normal. This sound indicates that the solenoid is engaging. However, if you hear rapid clicking or no sound at all, it could be a sign of a faulty solenoid or other electrical issues.
4. How can I test if my solenoid is working correctly?
You can test a solenoid using a multimeter. Set the multimeter to ohms and place the probes on the two large terminals of the solenoid. With the key off, you should have no reading. Turn the key on and press the accelerator; you should hear a click, and the multimeter should show a reading, indicating the circuit is closed[3].
5. What causes a solenoid to fail prematurely?
Several factors can lead to premature solenoid failure:
- Excessive heat from overloading the golf cart
- Corrosion due to exposure to moisture or battery acid
- Electrical surges or short circuits
- Poor maintenance of the golf cart's electrical system
- Using the golf cart beyond its designed capacity or on challenging terrain frequently
Regular maintenance and proper usage can significantly extend the life of your golf cart's solenoid.


